Sending Crypto from Ledger Live: Fast & Secure Step by Step Guide – Get Started
Learn to send crypto from Ledger Live with our step by step guide. Securely transfer Bitcoin, Ethereum and more. Start your outgoing transaction now.
Understanding Ledger Live as a Crypto Transfer Tool
Many users store digital assets on hardware wallets. Sending crypto from Ledger Live remains a frequent task. You may wonder how the software handles outgoing payments. This guide explains the process in a clear way. Using a hardware wallet adds a layer of control. Ledger Live acts as the interface between you and the blockchain.
Before you start, know that every transaction requires confirmation on your device. This step keeps your private keys offline. Send crypto ledger live operations become straightforward when you follow the proper steps. No secret skills are needed. Just a connected device and a stable internet connection.
What You Need Before You Start
- A Ledger hardware wallet (Nano S, Nano X, or Nano S Plus).
- Latest version of Ledger Live installed on your computer or mobile.
- Your device charged and connected via USB or Bluetooth.
- Sufficient balance in the account you want to transfer from.
- Network fees covered for the specific blockchain (Bitcoin, Ethereum, etc.).
How Ledger Live Keeps Your Coins Safe
Ledger Live does not hold your crypto. It shows balances from the blockchain. Your private keys never leave the hardware device. When you initiate a transfer, the transaction is signed inside the secure chip. This design prevents malware from stealing funds. Compared to software wallets, this method offers stronger protection. For ongoing security, regular ledger live backup is recommended.
Common Misconceptions About Outgoing Transactions
Some people think sending requires a seed phrase entry. That is false. You only confirm with physical buttons on the device. Others worry about high fees. Ledger Live lets you adjust miner fees manually. Another myth is that you cannot cancel a pending transaction. On some blockchains, you can replace it with a higher fee using ledger live advanced options. These features give you more control.
Setting Up Your Account for an Outgoing Transfer
First, open Ledger Live and navigate to the Accounts tab. Find the account holding the asset you wish to send. Click on it to see the transaction history and balance. If you do not see the account, you may need to add it. Use ledger live account management to add or remove accounts. This step ensures the correct blockchain is selected.
For example, to send Bitcoin, your Bitcoin account must be visible. If you recently added a new asset like Ethereum, verify the account appears. Ledger live send works only for accounts that are synced. Syncing happens automatically when you open the app. If the balance shows zero incorrectly, check your internet connection or refresh the page.
Checking Your Balance and Network Status
Before you send, confirm you have enough coins. Include an estimate for network fees. Some blockchains require a minimum balance to cover future fees. For Ethereum, you need ETH to pay gas. For Bitcoin, you need BTC for transaction fees. View the network status within Ledger Live under the “Send” screen. This prevents failed transactions due to low funds.
Choosing the Right Account for the Asset
You may hold the same coin on different blockchains. For instance, USDT exists on Ethereum, TRON, and Solana. Ensure you select the correct network. Sending to the wrong chain can result in permanent loss. How to send bitcoin ledger live requires selecting the Bitcoin account, not a token account. Always double‑check the account label and network icon.
Step‑by‑Step: Preparing the Transaction
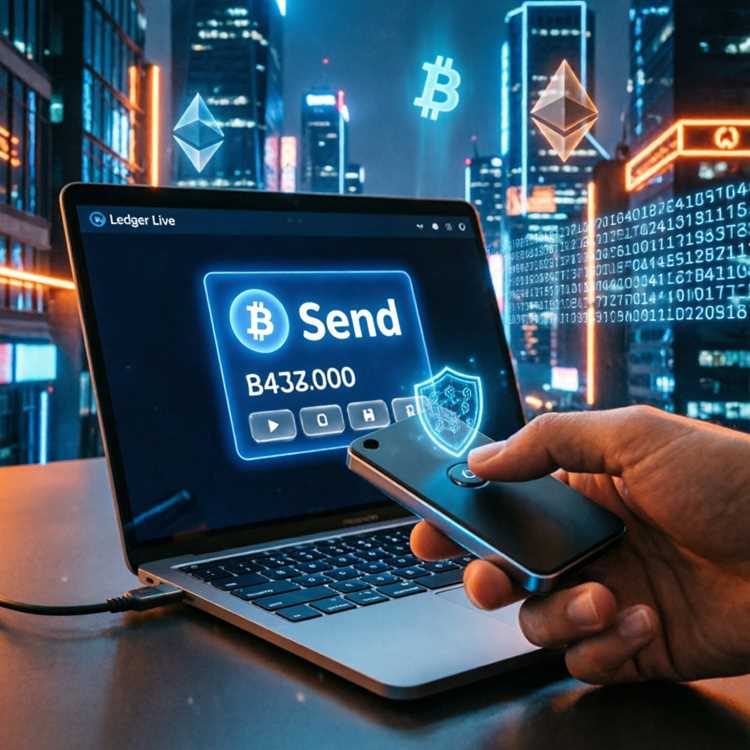
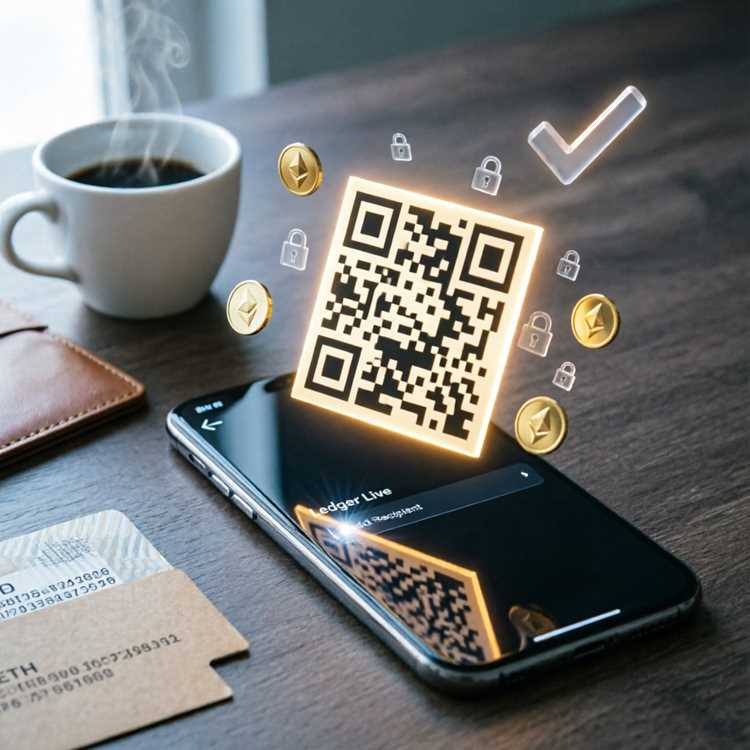
Now you are ready to create the transfer. Click the “Send” button on the account page. A new window opens. Enter the recipient address carefully. You can paste the address or scan a QR code with your mobile device. Ledger Live validates the address format automatically. If it shows a warning, stop and verify.
- Choose the asset and amount you want to send.
- If available, set a custom memo or destination tag (for XRP, Stellar, etc.).
- Review the network fee option. Choose Fast, Standard, or Low speed.
- Click “Continue” to proceed to the confirmation screen.
How to Ensure the Recipient Address Is Correct
Copy the address from a trusted source. Avoid typing manually. Compare the first few and last few characters on your Ledger screen. The hardware device shows the address you are sending to. Confirm it matches the one you entered. Scammers often use address poisoning. Always verify on the device itself. Ledger live transfer includes this security step.
Setting Network Fees Without Overpaying
Ledger Live offers three fee levels. The “Standard” option works well for most transfers. During network congestion, choose “Fast” to get confirmed quickly. For non‑urgent sends, use “Low” to save money. You can also set a custom fee. This is useful for Bitcoin where you can specify satoshis per byte. Check current fee estimates on the send screen before finalizing.
Confirming and Signing the Transaction on Your Device
After you click “Continue”, Ledger Live sends the unsigned transaction to your hardware wallet. On your device, you see the amount, recipient, and fee. Navigate with the buttons and verify each detail. Press both buttons to sign. This action authorizes the broadcast. Without the physical confirmation, the transaction never leaves your device.
Once signed, Ledger Live transmits the transaction to the network. You receive a confirmation with a transaction ID (TXID). Save this ID for tracking. Depending on the blockchain, confirmation can take seconds to minutes. Ledger live outgoing transactions remain pending until miners include them in a block.
What If the Device Doesn’t Recognize the App?
Sometimes your Ledger prompts you to open the correct app. For Bitcoin, open the Bitcoin app on your Nano. For Ethereum, open the Ethereum app. If the app is missing, install it via Ledger Live Manager. Common ledger live issues include outdated firmware or missing apps. Updating both usually resolves the problem.
Why You Must Never Skip the Device Verification
Some users try to confirm only on the computer screen. This defeats the security purpose. Malware could alter the displayed address. The hardware wallet shows the true destination. Always compare the address on the device with your intended recipient. This single step prevents most thefts.
Tracking Your Pending and Completed Sends
After broadcast, the transaction appears in your account history. You can see its status: pending, confirmed, or failed. Click on the transaction to view details like block confirmation count. For Bitcoin, 6 confirmations are often considered final. For Ethereum, 12 confirmations are typical. You can also copy the TXID and search on a block explorer.
If the transaction stays pending for a long time, you may need to accelerate it. Some networks allow replacing a stuck transaction. Use ledger live advanced options to enable RBF (Replace‑by‑Fee) for Bitcoin. This feature lets you bump the fee and speed up confirmation.
Understanding Confirmation Times by Coin
| Coin | Average Confirmation Time | Recommended Confirmations |
|---|---|---|
| Bitcoin (BTC) | 10-30 minutes | 6 |
| Ethereum (ETH) | 15 seconds - 5 minutes | 12 |
| Litecoin (LTC) | 2.5 minutes | 6 |
| XRP (XRP) | 4-5 seconds | 1 |
| Polkadot (DOT) | 6 seconds | 1 |
What to Do If the Transaction Fails
Occasionally a transfer fails due to network issues or low fees. Ledger Live will show a failed status. Your coins remain in your account. You can retry with a higher fee. Check the blockchain status for any congestion. Also verify the recipient address is valid. If problems persist, consult ledger live issues for solutions.
Advanced Options: Custom Fees, Memos, and Batches
For experienced users, Ledger Live offers advanced settings. You can customize gas limits for Ethereum or set a custom fee rate for Bitcoin. This is useful during high traffic. Another feature is adding a memo or destination tag for exchanges that require it. Forgetting the memo may result in lost funds.
Batch sending is not directly supported in Ledger Live. However, you can create multiple transactions one by one. Use ledger live swap if you want to exchange coins without leaving the app. Swaps are different from sends because they involve a third party.
How to Add a Transaction Memo
When sending to an exchange like Binance or Kraken, you often need a memo or tag. Look for the memo field on the send screen. Enter the exact tag provided by the exchange. Without it, the deposit may not credit. For XRP, the destination tag is mandatory. For Stellar, the memo ID is required.
Using RBF for Stuck Bitcoin Transactions
Replace‑by‑Fee allows you to increase the fee of an unconfirmed Bitcoin transaction. Enable it in Ledger Live settings before sending. If the transaction gets stuck, go to the transaction details and select “Increase fee”. The new transaction replaces the old one. This requires the wallet to support RBF, which Ledger Live does.
Managing Multiple Assets and Balances
You can hold hundreds of different tokens in Ledger Live. Each account corresponds to a separate asset. Sending Crypto from Ledger Live – Step by Step applies to all supported coins. The interface remains similar across Bitcoin, Ethereum, and altcoins. However, each blockchain has its own fee structure and confirmation logic. Familiarize yourself with the specific coin before sending.
For ERC‑20 tokens, you need Ethereum in the same account to pay gas fees. Without ETH, you cannot move your tokens. This catches many newcomers off guard. Plan ahead by keeping a small ETH buffer. Send ethereum ledger live procedures require sufficient ETH for gas. The same applies to BEP‑20 tokens on Binance Smart Chain, where you need BNB.
Token vs. Native Coin Accounts
Native coins like Bitcoin, Litecoin, and Dash have their own accounts. Tokens like USDC or UNI appear under the parent blockchain account. For example, all ERC‑20 tokens are listed under your Ethereum account. When sending a token, select the token from the dropdown on the send screen. The recipient must also support the same token standard.
Using Ledger Live for Staking and Earning
Some assets allow staking directly in Ledger Live. You can earn rewards without sending your coins elsewhere. For example, Tezos, Cosmos, and Polkadot support staking. Use ledger live tezos staking as a guide. Staking does not involve sending crypto to an external platform. Your coins remain under your control. This is different from a standard outgoing transfer.
Security Tips Every User Should Follow
Always verify the recipient address on your Ledger device. Never trust a screen or screenshot. Double‑check the amount and fee before signing. After the transaction, do not share your TXID publicly unless needed. Scammers can use it to impersonate you. Keep your recovery phrase offline and never enter it into any app.
Ledger live token management includes reviewing your account list regularly. Remove unused accounts to reduce clutter. Always download Ledger Live from the official website. Avoid third‑party versions. Enable two‑factor authentication if you use Ledger Live with an exchange account. These simple habits protect your funds.
Phishing and Fake Address Attacks
One common attack is address poisoning. Malicious actors send small amounts to your wallet, hoping you copy their address from history. Always use the address you intended, not one from a previous transaction. Ledger Live shows a warning if the address is unfamiliar. Heed these alerts.
What to Do if You Send to the Wrong Address
If you realize the mistake immediately, try to cancel the transaction. For some blockchains, you can use RBF or double‑spend. Once confirmed, recovery is nearly impossible. Contact the recipient if you know them. Otherwise, the funds are lost. Prevention is the only reliable method. Always triple‑check before confirming.
Frequently Asked Questions About Ledger Live Sends

Can I send crypto from Ledger Live without a hardware wallet?
No. Ledger Live requires a Ledger device to sign transactions. Without it, the app acts only as a portfolio tracker.
How long does a send take?
It depends on the blockchain and network fee you choose. Bitcoin can take 10‑60 minutes. Ethereum usually takes a few minutes.
Is there a limit on how much I can send?
No limit from Ledger Live. However, blockchains may have transaction size limits. For Bitcoin, the limit is based on the UTXO size. For most coins, you can send your entire balance.
Can I cancel a pending transaction?
On Bitcoin, you can use RBF if enabled. On Ethereum, you can send a new transaction with the same nonce and higher gas. Not all blockchains support cancellation.
What happens if I send to the wrong network?
Funds may become lost permanently. Always match the network of the recipient. For example, sending ERC‑20 tokens to a BEP‑20 address may result in unrecoverable loss.
Do I need to install a separate app for each coin?
Yes. The Ledger device requires a dedicated app for each blockchain. Install via Ledger Live Manager. The app size is small, around 20‑50 KB per coin.
How do I see my transaction history?
Open the account and scroll down. Transactions are listed chronologically. You can filter by date or status.
For further assistance, explore ledger live linux setup if you are using Linux, or check ledger live token management for token‑specific issues. Remember that disciplined verification keeps your crypto safe.