Using Ledger Live with Ledger Hardware Wallet: Step by Step Nano X and Nano S
Using Ledger Live with Ledger Hardware Wallet enhances security. Connect Nano X or Nano S, pair devices, integrate hardware. Start managing crypto now.
Setting Up Your Crypto Wallet Without a Computer Screen
Managing digital assets requires a secure connection between software and hardware. Using Ledger Live with Ledger Hardware Wallet: Setup Guide is the first step for many crypto owners. This guide walks through each stage of the process. Readers will learn how to pair, install, and manage coins safely.
Hardware wallets store private keys offline. Software like Ledger Live shows balances and initiates transactions. Without proper setup, assets remain inaccessible. This article covers everything from unboxing to daily management.
Why Hardware Wallets Need Software Integration
A hardware device alone cannot display transaction details. You need a companion app to review addresses and confirm movements. Ledger live hardware wallet integration fills this gap. It creates a bridge between cold storage and user interface.
Software handles account creation and balance checks. Hardware signs transactions offline. Combining these two layers provides strong security. Users control their funds without exposing private keys to the internet.
Choosing the right software matters. Ledger Live supports multiple devices and operating systems. It works with Windows, macOS, Linux, iOS, and Android.
Differences Between Software and Hardware Wallets
Software wallets run on phones or computers. They connect to the internet constantly. Hardware wallets remain offline until plugged in. This offline mode protects against remote attacks.
Many users start with a mobile wallet. They later add a hardware device for larger amounts. Using both together offers flexibility and safety.
How Ledger Live Bridges the Gap
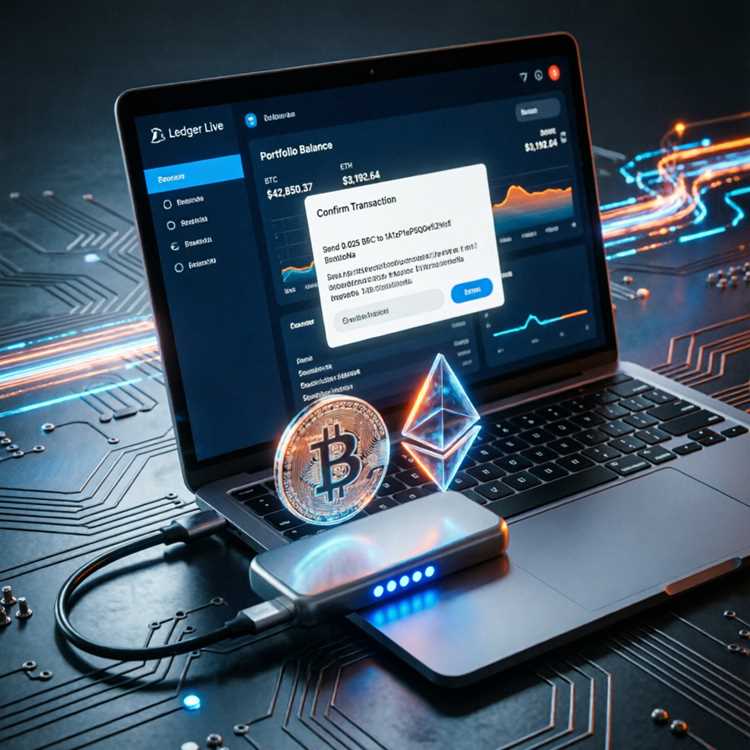
Ledger Live acts as a remote control for your hardware device. It shows portfolio values and transaction history. The app sends unsigned transactions to the device. The device signs them locally before broadcasting.
This separation prevents malware from altering transaction details. Even if your computer is compromised, funds remain safe.
Choosing Between Ledger Nano X and Ledger Nano S
Two main models exist for different user needs. Both work with the same software. Consider storage capacity and connectivity before buying.
Ledger nano x ledger live pairing allows Bluetooth connections. This model supports up to 100 applications. Its battery lasts for several hours of active use.
Ledger nano s ledger live requires a USB cable. It holds fewer apps but costs less. Both devices support major cryptocurrencies and ERC-20 tokens.
| Feature | Ledger Nano X | Ledger Nano S |
|---|---|---|
| Connection | Bluetooth + USB | USB only |
| App Capacity | Up to 100 | Up to 6 |
| Battery | Built-in, 8 hours | No battery |
| Price | $149 | $59 |
| Best For | Mobile users, frequent traders | Desktop users, budget buyers |
Storage Capacity and Supported Coins
Each device can install multiple coin applications. Nano X handles larger portfolios without deleting apps. Nano S may require removing apps to add new ones.
Both devices support Bitcoin, Ethereum, Solana, and thousands of altcoins. Check ledger live altcoins for the full list.
Connectivity Options for Different Devices
USB connection works with all computers. Bluetooth works with smartphones. Choose based on your main setup. Desktop users might prefer the cheaper Nano S.
Mobile users benefit from Bluetooth pairing. They can manage funds without a cable. ledger live ios supports the Nano X via Bluetooth.
Preparing Your Hardware for First Use
Unbox your device and locate the USB cable. Connect it to your computer. The screen will prompt you to choose a PIN code.
Write down the 24-word recovery phrase. Store it offline in a safe place. Never photograph or type it into any app.
Firmware updates may be needed before first use. Follow on-screen instructions to install the latest version.
Installing the Ledger Live Application
Visit the official website to download the installer. Avoid third-party sources to prevent malware. get ledger live from the official page only.
Run the installer on your computer or mobile device. Follow the prompts to complete installation. Open the app after setup finishes.
Creating or Restoring a Wallet
The app will ask if you want a new wallet or an existing one. Choose new wallet for first-time users. The device generates a unique recovery phrase.
Restoring requires entering your 24 words into the device. Use this option if you replace a lost or broken device. Keep the original phrase safe at all times.
Pairing Ledger Live with Your Hardware Device
Connect the device via USB or Bluetooth. Open Ledger Live and navigate to the Manager section. The app will detect the connected device automatically.
Ledger live device pairing requires confirmation on both screens. Approve the connection request on your hardware device. A success message appears once pairing completes.
Bluetooth pairing needs additional steps. Enable Bluetooth on your phone. Select the device from the list in Ledger Live.
- Open Ledger Live on your computer or phone.
- Connect your hardware device using USB or Bluetooth.
- Enter your PIN code on the device.
- Approve the pairing request on the device screen.
- Wait for Ledger Live to show "Device connected" status.
Troubleshooting Connection Issues
Sometimes the app fails to detect the device. Try a different USB cable or port. Restart both the app and the device.
Bluetooth connections may drop due to interference. Move the phone closer to the device. Forget the device in Bluetooth settings and pair again.
Managing Multiple Devices
Ledger Live supports several hardware wallets. Each device appears as a separate account. Switch between devices using the account dropdown.
Use different devices for different purposes. Keep one for daily transactions and another for long-term storage.
Installing Cryptocurrency Applications on Your Device
Each blockchain requires its own app on the hardware device. Open the Manager in Ledger Live. Browse the available apps and install what you need.
Connect ledger to live first, then open the Manager tab. Select Bitcoin, Ethereum, or other coins. Click Install and confirm on the device.
Storage space limits the number of installed apps. Remove unused apps to free space. Your coins remain safe even after removing the app.
Step by Step Installation Process
Click the Manager icon in the left sidebar. Search for the coin you want to add. Click the Install button next to it.
The device screen will ask for confirmation. Press both buttons to approve. Wait for the progress bar to complete.
Removing and Reinstalling Apps
Storage management is simple. Click the trash icon next to an installed app. Confirm removal on your hardware device.
Reinstalling is fast. The app does not affect your funds. Your private keys stay on the device permanently.
Receiving Cryptocurrency into Your Hardware Wallet
Go to the Receive tab in Ledger Live. Select the account you want to use. The app will generate a receiving address.
Verify the address on your hardware device screen. Compare it with the app display. This step prevents address replacement attacks.
Copy the address and share it with the sender. Funds arrive after network confirmation. Check your balance in the portfolio view.
Follow the ledger live receive guide for detailed instructions on verifying addresses.
Understanding Address Types
Different blockchains use different address formats. Bitcoin uses SegWit or legacy addresses. Ethereum uses 0x addresses. Ledger Live selects the correct format automatically.
Always verify the full address on your device. Scammers can replace addresses in the app display. Hardware verification ensures you control the destination.
Minimum Deposit Amounts

Some networks require minimum deposits. Bitcoin transactions need a small amount to cover fees. Sending less than the minimum may result in lost funds.
Check network requirements before sending. Ledger Live shows minimum amounts for each asset.
Making Payments and Sending Transactions
Click the Send tab in Ledger Live. Enter the recipient address and amount. Review the transaction details on your hardware device.
Confirm the transaction by pressing both buttons. The device signs the transaction offline. Ledger Live broadcasts it to the network.
Transaction fees depend on network congestion. Choose a fee level based on urgency. Higher fees mean faster confirmations.
Manage your ledger live payment options within the app for instant purchases.
Setting Transaction Fees
Ledger Live shows recommended fee ranges. Select slow, medium, or fast speed. Custom fees are available for advanced users.
Low fees may delay confirmation for hours. High fees ensure quick processing. Check current network conditions before sending.
Canceling or Replacing Transactions
Unconfirmed transactions can be replaced with higher fees. Use the Replace-by-Fee feature in advanced settings. This option works only for Bitcoin and similar chains.
Cancel pending transactions by sending a conflicting transaction. Contact support if you need help with stuck transactions.
Updating Firmware and Software Regularly
Firmware updates fix bugs and add features. Check for updates in Ledger Live Manager. Install them promptly to maintain security.
Software updates improve compatibility and performance. upgrade ledger live whenever a new version appears. Updates are free and take a few minutes.
Never skip security updates. Outdated software may have known vulnerabilities. Keep both hardware and software current.
Checking Current Versions
Open Settings in Ledger Live. Look for the About section. Compare your version with the latest release on the website.
Firmware version appears on the device settings screen. Press both buttons to access the menu. Navigate to Settings and check Firmware version.
Update Process for Linux Users
Linux requires additional setup for device permissions. Install udev rules to allow USB access. ledger live ubuntu guide covers these steps in detail.
Updates work the same way on all operating systems. Use the Manager tab to install firmware updates. Restart the app after updating.
Securing Your Account with Strong Passwords
Ledger Live offers password protection for the app itself. Set a strong password during initial setup. This prevents unauthorized access to your portfolio.
The password protects the app, not the hardware device. Your funds stay safe even if someone opens the app. They cannot send transactions without the hardware.
Enable two-factor authentication on your exchange accounts. ledger live password settings allow additional security features.
- Use a password with at least 12 characters.
- Include numbers, symbols, and mixed case letters.
- Never reuse passwords from other services.
- Store your password in a password manager.
- Enable biometric authentication on mobile devices.
Recovery Phrase Best Practices
Your 24-word recovery phrase is the master key. Write it on paper only. Store it in a fireproof safe or safety deposit box.
Never enter the phrase into any website or app. Scammers create fake Ledger apps to steal phrases. Only use official software from the Ledger website.
What to Do If Your Device Is Lost
Purchase a new Ledger device. Download Ledger Live on a clean computer. Select "Restore from recovery phrase" during setup.
Enter your 24 words into the new device. Your accounts and balances will reappear. All coins remain safe as long as the phrase is secure.
Frequently Asked Questions About Ledger Live Setup
Can I use Ledger Live without a hardware device?
Yes, for viewing balances only. Transactions require hardware confirmation.
How many coins does Ledger Live support?
Over 5000 cryptocurrencies and tokens. Check the supported assets list for updates.
Is Bluetooth safe for cryptocurrency transactions?
Yes, the transaction signing still occurs offline on the device. Bluetooth only transfers unsigned data.
What happens if I uninstall Ledger Live?
Your funds remain on the blockchain. Reinstall the app and connect your device to access them again.
Can I use the same recovery phrase on multiple devices?
Yes, but doing so creates duplicate wallets. Use one device as primary and another as backup.
How often should I update firmware?
Install updates as soon as they are available. Security patches should not be delayed.